
Menu

Achieving the perfect garden shed is an achievable goal!
Constructing a wooden base provides all of the benefits that you need to ensure your shed stands strong against wind, rain and other elements.
The great news is this project can be easily tackled in just one day – regardless if you’re new or experienced at DIY projects.
Okay, let’s get started with your shed!
It’s like with any element of your shed, let’s say doors, your garden shed’s wooden base will set the foundation for its stability, durability and look.
Carefully consider your options before deciding which material best fits all of these needs – pressure-treated pine, cedar, redwood or composite wood.
All four have particular benefits that you need to weigh against each other in order to discover what works best for your shed base.
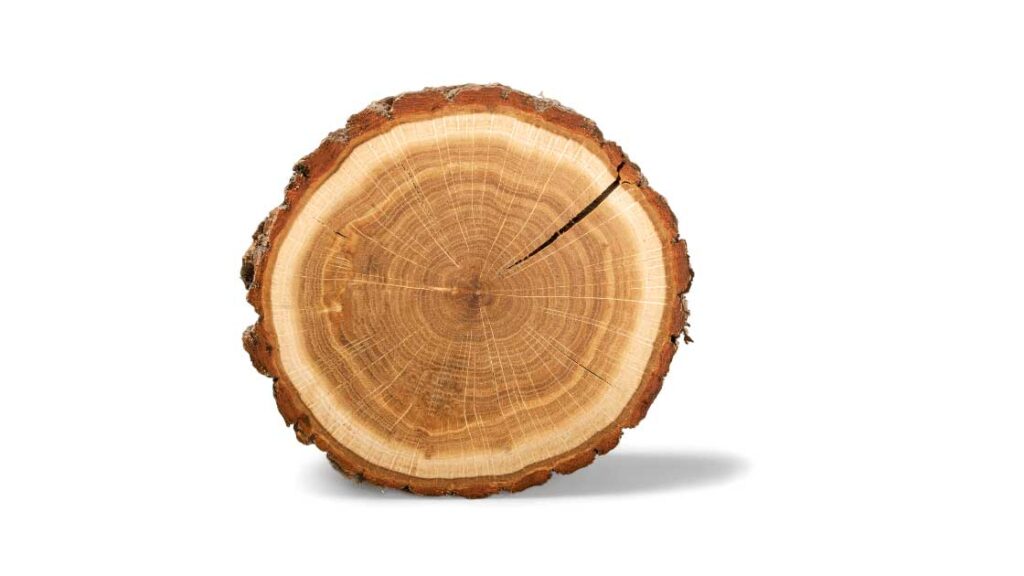
Pressure-treated Pine: With a budget in mind and quality desired, pressure-treated pine is an ideal choice to build a shed base. This wood has been infused with preservatives to combat rot, decay and insect damage – giving it extended protection from the elements.
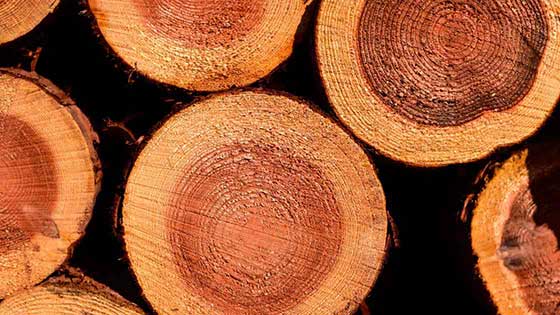
Cedar: Cedar is a popular choice for a shed, not just because of its striking reddish-brown color and unique grain pattern, but also due to its impressive durability. It’s naturally resistant to rot and moisture damage – however it isn’t the most cost effective option when compared with other materials.
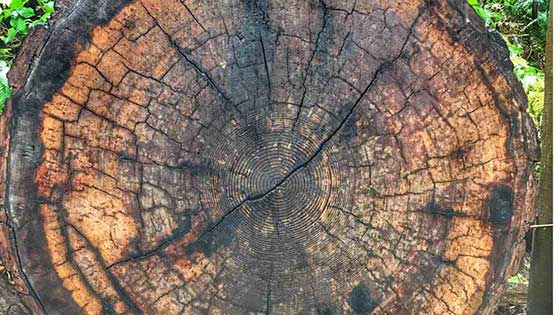
Redwood: Redwood is a luxurious choice for any shed base due to its natural rot, decay and insect resistance. Its warm red-brown color deepens over time into an elegant silver-grey shade that will improve the look of any project you create with it – just keep in mind that this superior quality comes at a higher price point than some other woods!
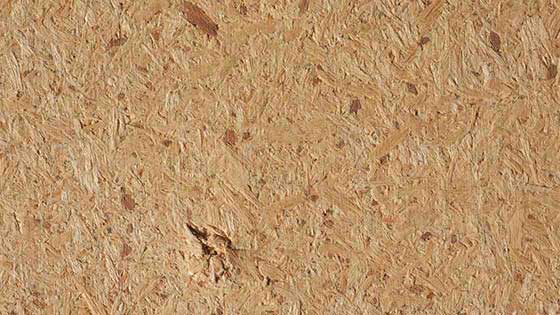
Composite Wood: If you’re looking for an attractive, long-lasting material for your garden building that requires minimal upkeep and won’t break the bank – composite wood is worth considering! This modern mix of plastic and wood fibers delivers superior resistance to rot and moisture, making it ideal for any shed. The only downside? It’s slightly pricier than other options on the market.
When selecting the right material for your wooden shed base, you’ll need to weigh a variety of factors. Identifying elements like budget and climate can help ensure that you make an educated choice when choosing between materials such as cedar, redwood or pressure-treated pine. Alternatively, composite wood may be a great low maintenance solution if desired!
Time to get cutting! Ensure that your wooden base is sturdy and the correct size for your garden shed by acquiring accurate measurements before you start snipping away. Pay close attention when getting those cuts just right – it’ll make all the difference in making sure your DIY project stands strong from start to finish!
Before diving into the fun part of cutting, it’s important that you take precise measurements. Make sure to accurately measure out the length, width and height – this will ensure there is enough room underneath so your structure can breathe! Once complete with measuring up, use either a handsaw or circular saw to cut each piece accordingto size. Just be sure not mark and make cuts in accordance with what has been measured as any discrepancies could mean having tore-start from scratch!
Crafting an intricately-designed wooden base requires precision and attention to detail. When sawing the wood, take your time for accurate cuts – rushing can lead to a wobbly structure that isn’t safe for everyday use. If you’re unsure of your skill level with a saw, enlist help from someone who is experienced in this area or consider hiring professional services instead. Additionally, sand any rough surfaces after cutting; not only does this refine its appearance but it also prevents dangerous splinters!
Taking the time to measure and cut your wood for a wooden base is essential! Accurate measurements result in higher stability, levelness, and getting that perfect size you need for garden shed building. With care taken when measuring and cutting those pieces of wood accurately, you’ll soon have everything ready to start assembling so that beautiful wooden base can be yours with ease!
Now that you have all the components for your garden shed’s wooden base prepped and ready, it’s time to begin putting them together! With just a few simple tools like screws, brackets, a drill and level in-hand – assembling this solid foundation should be easy.
Lay out the pieces of your wooden frame, making sure that they’re spaced evenly apart and level before you start attaching them together. To assemble the rectangular frame, begin by screwing two pieces at one end and then attach those same pieces on their other end to the next piece in line. Repeat this process until all components are secured together for a stable structure with an even foundation.
When constructing a sturdy frame, the most important step is to ensure that all four corners are square. Here’s an easy way to make sure you’ve got it right :
To ensure the longevity and stability of your shed, pay close attention to levelling! Double check with a level that the base is even in all directions. Make adjustments as necessary – it’s worth taking this extra step for top-notch security and peace of mind down the road.
Now that the frame is up, take this opportunity to properly prepare the ground where it will be situated.
Doing so ensures stability and security – two key ingredients in a successful shed base! With some time spent on getting this step just right, you’ll have a strong base from which everything else can come together easily.
Start your project off on the right foot by clearing away any excess foliage and debris. This will help to safeguard against future issues that could inhibit the stability of your base. If you come across large rocks or roots, be sure to remove them for a totally flat surface! Once this is done, use a rake to create even soil levels – then go over each area with some light pressure in order ensure optimal leveling and sturdiness when it comes time for construction.
After you’ve made the ground level, laying down a layer of crushed stone or gravel is key for drainage and water prevention. Cover all surfaces evenly with your chosen material then use either a tamper or piece of wood to compact it until everything’s stable and even – repeat this process once more if necessary!
It’s the moment of truth! Your garden shed is nearly complete, and with a few well-placed boards you’ll be ensuring stability for years to come. Take your time on this last step as it plays an important role in how weatherproof and secure your construction will be.
With the area prepped, it’s time to get your wooden base in place! Center and level this essential component – making sure all sides are even. To ensure its stability, fasten brackets onto the base with screws before securing them into solid ground with spikes or stakes. Spread out these crucial supports evenly for ultimate strength!
To ensure stability and security of your garden shed, it is essential to check the base with a level. Make adjustments if necessary until the brackets are perfectly aligned in all directions before filling any gaps around them with crushed gravel or stone which will provide extra drainage too!
Make your garden shed look its best with a beautiful, finished wooden base! Painting, staining and sealing are all great options to explore – depending on your individual style or the desired aesthetic of the shed. With these methods you’ll have no problem creating an enjoyable outdoor addition for years to come.
Painting and staining are two simple ways you can accomplish this. Paint is great for a dramatic change, while stain helps bring out its natural beauty. Be sure to select products appropriate for outdoor use that will provide long-lasting protection from the elements! If you need help selecting paint or stain, consider consulting with an expert at your local hardware store or specialty supplier.
To keep your wooden base looking its best and protected from the elements, sealing it is an excellent option. Choose a high-quality outdoor sealer to provide maximum durability—for help selecting one, consult with a local hardware store or wood finishing supplier. Once you’ve applied the sealant according to manufacturer’s instructions, be sure that it dries completely before using it again; this will ensure long lasting protection for many years!
For a successful and reliable garden shed, the foundation is key. Crafting your own wooden base requires careful consideration from selecting lumber to preparing the ground. With due diligence at each step you can ensure that your storage solution will remain stable for years to come – giving peace of mind when it comes wanting secure shelter for all of your gardening tools and equipment!
A: To build a wooden shed base, start by marking out the base size with pegs and string. Level the ground within the marked area, and lay a layer of weed membrane. Place treated timber bearers on the membrane in a grid pattern, making sure they’re spaced evenly. Join the bearers using galvanized screws or brackets. Place a spirit level on the bearers to ensure they’re level, and use paving slabs or timber to adjust the height of the corners if needed. Finally, check that the base is square using a large carpenter’s square or the 3-4-5 rule.
A: A concrete base isn’t necessary for every garden shed, but it does provide the strongest and most durable foundation. It’s recommended for larger or heavier garden buildings, or in areas prone to flooding or ground movement. If you have a smaller shed or are looking for a more budget-friendly option, a wooden shed base or a plastic shed base may suffice.
A: To build a concrete base, start by marking the area for the base with pegs and string. Dig out the area to a depth of about 4-6 inches, and compact the soil. Place a layer of weed membrane, followed by a 2-3 inch layer of hardcore or compacted gravel. Ensure the area is level by using a spirit level. Create a wooden formwork by placing treated timber around the perimeter, using wooden stakes to secure it in place. Mix and pour the concrete, spreading it evenly within the formwork, then use a float or trowel to level it. Once the concrete sets, you can remove the formwork and build your shed on the new base.
A: Use a long spirit level to check the levelness of the base in multiple directions, both diagonally and along the edges. If the base isn’t level, adjust the height of the corners with paving slabs or timber. When using a concrete base, use a float or trowel to level the wet concrete, and check with the spirit level again before it sets.
A: A concrete slab for a garden shed should be at least 4 inches thick. For larger or heavier garden buildings, or for areas with poor soil conditions, a thicker slab of 6 inches or more may be necessary for added stability and support.
A: Yes, you can build a shed base on grass, but it’s important to remove the top layer of turf and soil first, and level the ground underneath. This ensures a stable and level foundation for your shed. When using a wooden or plastic shed base, make sure to lay a weed membrane beneath it to prevent weed growth that might affect the stability of your shed.
A: A concrete base is the most suitable and durable option for metal sheds, as it provides excellent stability and protection from damp. However, wooden and plastic shed bases can also be used for metal sheds, as long as they are level and sturdy enough to support the shed’s weight.
A: Yes, paving slabs can be used as a shed base, but it’s important to ensure they’re laid on a level and compacted foundation of sand or gravel. Space the paving slabs evenly, and use a spirit level to make sure the surface is flat and level. Once the slabs are laid, you can build your shed on top of them.
A: Your shed base should be the same size as the base of your garden shed, or slightly larger to allow for good drainage and airflow around the structure. Check your shed’s assembly instructions or specifications for the base dimensions, and use this as a guide when constructing your shed base.
A: To prevent your wooden shed base from rotting, use pressure-treated timber, which is more resistant to rot and insects. In addition, make sure the base is elevated slightly off the ground to allow for proper airflow and help keep it dry. Regularly inspect and maintain the base to ensure it remains in good condition throughout the life of your garden shed.
Hey, I’m Dale, I live in Scottish Highlands with my family where we looks after our farm and do some DIY projects together with my two sons.
I love to share my knowledge about putting up sheds (I owned 3 already and helped all my pals with theirs). Hope you find my writing helpful.